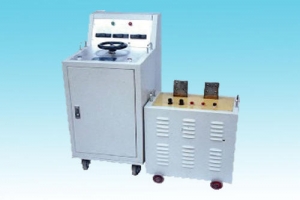
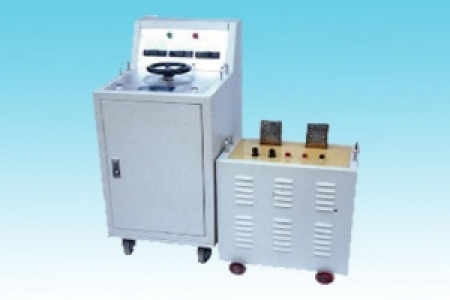
Dari Electric recommends
◆ Date, voltage, current, and time four sets of data displayed on a blue 5.7-inch large screen LCD with backlight, clear and intuitive readings, simultaneously displaying voltage, current, time, etc., with various data setting functions and a high-speed thermal printer;
◆ The time relay start/stop conditions can be arbitrarily set, with a settable time range of 1 second to 9999 seconds;
◆ High-precision sensors and high-performance 14-bit AD acquisition chips;
◆ Touch-type panel button operation, all functions can be set via buttons, improving product safety, reliability, and intelligent operation throughout the process;
◆ Optional automatic current rise test, manual current rise test, and impact quick-break test, flexible and simple operation;
◆ Real-time display of output current and time results, intuitive and clear display;
◆ Comprehensive overcurrent protection, with arbitrary setting of target output current value, current upper limit, and withstand time;
◆ Equipped with grounding detection and zero-return detection functions, tests can only be conducted after grounding and zero-return are confirmed, safe and reliable;
◆ Approaching current rise algorithm, automatically starts withstand timing after reaching the set target output current, and the motor automatically returns to zero after timing ends;
Small Current Generator Usage Method:
1. The instrument must be properly grounded. 2. Connect the power supply, turn on the switch, the red indicator light will be on, and the current generator is waiting to raise current.
3. Rotate the voltage regulator evenly clockwise, paying attention to the output current indication on the operation panel until the required large current is reached.
4. During the test, once any abnormal phenomenon is found, immediately cut off the power supply, find out the cause, and then conduct the test again.
5. After the test, the voltage regulator must be returned to zero, cut off the power supply with the air switch, cut off the working power, and remove the test wiring in the reverse direction to ensure safety.
Note: The above information and technical parameters are compiled and released by Yangzhou Dari Electric Co., Ltd.